Cosplay Mask Making: The Tutorial!
September 3, 2021
If you’re like me, you’ve wanted to find a good full-face mask. Whether it be for a cosplay, or just for some regular fun, you’ve wanted to get one. However, everything is so expensive! The cheap stuff just isn’t that great of quality, and any tutorials you can find are so confusing, or require materials you don’t have (seriously, who just has a pocket torch and a wood saw just lying around). Having been in those shoes once, I’ve decided to compile a bunch of photos and tell everyone how I’ve managed to make not one, but two masks.
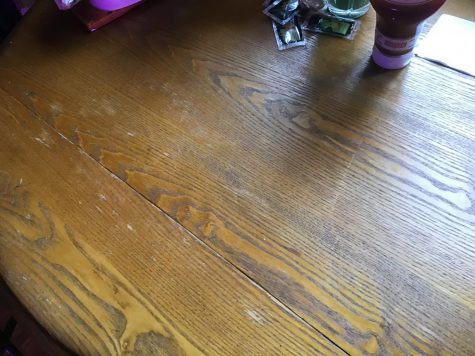
A good place to start is to clear off a large space. This image is of my kitchen table, and while it isn’t that big, it just needs to be big enough to fit my necessities. It also needs to be able to be useable for several hours, or days.
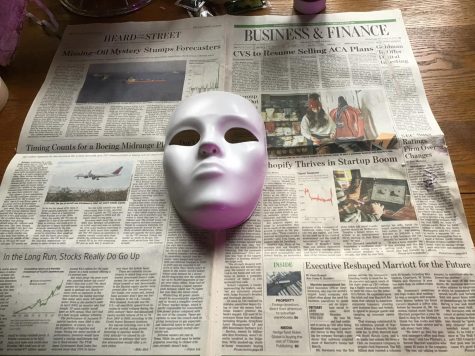
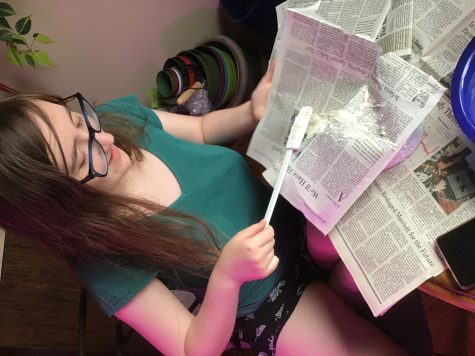
This is where the fun begins! I recommend prepping your area by laying down a full newspaper or two. It just needs to be enough to prevent paint, or paper mache, or whatever might be used, from spilling everywhere. I recommend putting your mask in the center.
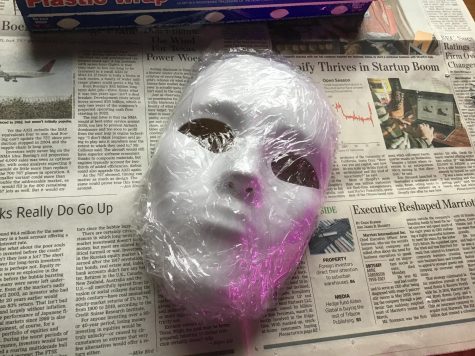
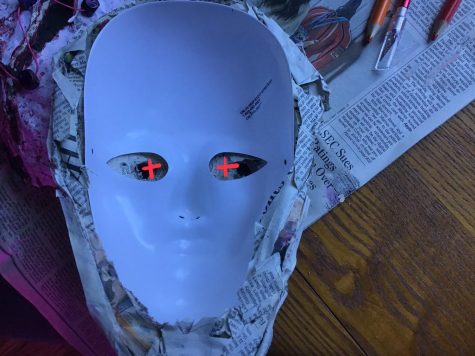
Now we’re making a base! I plastic-wrapped my mask, making sure that the wrap covered all of the mask. Although you don’t need that much plastic wrap, I recommend wrapping your mask fully at least once or twice. These masks are to be full-faced ones, so the wrap might not cover everything if you only wrap the front of the mask. You want to be able to peel the mask off of the base, so stuff like Saran Wrap is important for that future step.
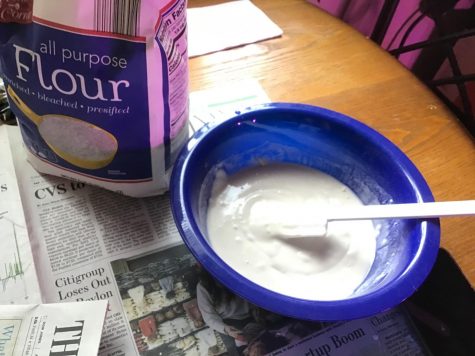
When making paper mache, I think that a good 1:1 ratio of flour and water works. I also know that the paper mache should be “creamy, not lumpy”. If your liquid lacks a constant consistency, you need to stir it more; chances are it might also have lumps. These lumps are important to get rid of because they’re only wet flour on the outside: on the inside, they’re still dry. You don’t need to throw them out or anything, you just have to stir them and break them up (also, this stuff is fine in food bowls, though it’s a pain to clean out). If you want a good example of what consistency the paper mache should have, think of a milkshake or a bowl of creamy soup.
Now here comes the biggest step: actually applying the paper mache to the base. I use (most of) one full newspaper. Although I have around a sheet or two left afterwards, I recommend using around one full newspaper. It’s important to make sure your mask has a lot of layers, so it isn’t flimsy or extremely breakable. I also recommend slathering the mixture on the paper. Making sure to get all of the paper stuck down as a layer helps reduce air pockets and random crumples.
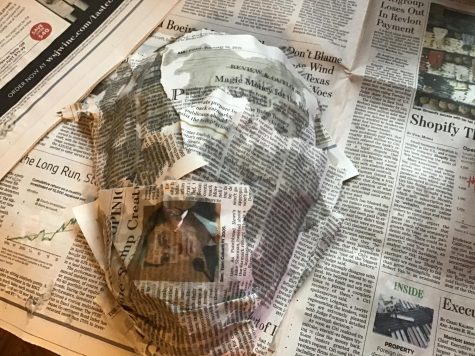
Your mask is probably going to look like this when you’re finished. It’s just wet, so you’re going to have to let it dry. You’re going to need to let it dry for a while though (a couple of days or so).
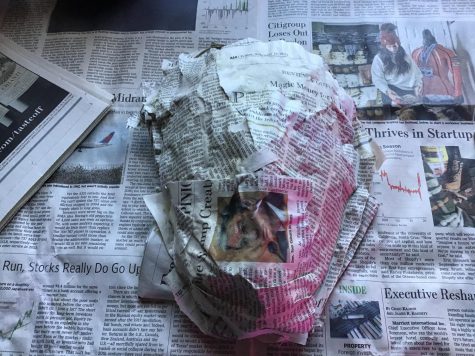
The mask has remained here for a few days. You can see how the wet splotches are now dry.
Now, I made a mistake with the next part. It’s fine, but it just makes the process of mapping out the eyeholes much harder, so I feel that I should bring it up now.
What I did with my first attempt was to cut the back plastic wrap and keep everything still inside. It makes mapping out the eyeholes a lot more exact and less based on estimation. Even though I have made a mistake, I will still show you my process (because mistakes always happen).
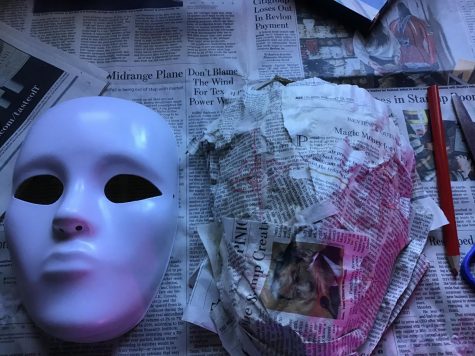
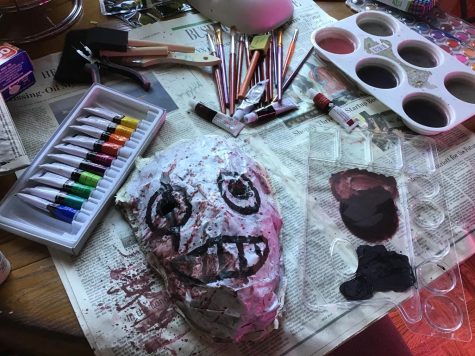
After making the mistake of removing the mask before mapping out what might need to be cut off, I had to use it as a reference for where the eyeholes might’ve been. I sketched them out on the mask in pencil (pencil can be covered up by painting later) and added some of the mask’s details to prepare for future painting. Regardless of my carelessness, however, the plastic mask base should be removed.
Putting the mask back in, it wouldn’t be in the same position it was in previously. You can see the markings where the eyeholes should’ve been versus where I put them.

Hey! Look! We’re in the painting section! In order to cover the mask, you’re going to need a lot of paint. From my previous experience of wasting nearly half a bottle of white paint, I first recommend putting some white down, and then mixing in some brown on the mask. Just put the brown paint all over it. Let it dry for a bit (you don’t have to wait for it to be completely dry–just enough that it’s not freshly wet), and then add some white paint over that. Add in more white paint until your mask has the desired color and/or opacity. I recommend waiting for the base paint to dry before you paint on details.
Speaking of details, if you’re going along with me to make this mask, my recommendation for making a “blood” colored paint is to mix equal parts dark red and brown. To make an ashy black color, you might want to mix in mostly black with a dash of white, and maybe a little bit of brown too. To do any “splattering” effects on the mask, I held the brush firm and did a whipping motion with my wrist whilst using a watered down version of my paint.
Now look at that! That looks like a spooky mask. Cleaning up everything can be a pain, and waiting for paint to dry can feel like forever, but it’s (almost) done!

The only step left is attaching a band to the mask so it’ll stay on the face. You probably got an elastic band with your mask base, but if you didn’t, the cost of these bands seems to be, at most, ten dollars. You can glue it on the sides, hot glue it, poke holes in the sides and slide it through (then tie it); there are a few methods to do it. I went out of my way to add some string loops, so I can swap out the band length and reuse it if need be, but I think a more permanent solution is less fragile than this.
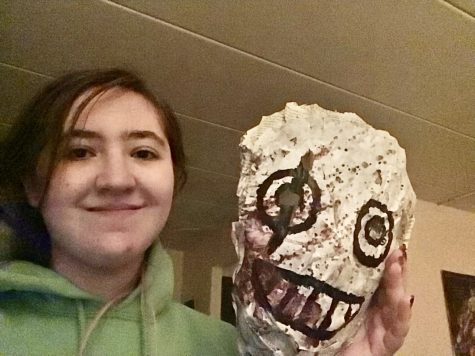
Now we’re finished! How does your mask look? I made mine for a “Legion” cosplay of one of the characters from the popular video game Dead By Daylight. I couldn’t find any affordable masks online, so I figured that I’d make my own and share the process with the internet! Enjoy!